First Start
Start the 3d-visualisation:
- Linux: Run ./viewer/viewer
- Windows: Run \viewer\viewer.exe
Run Program in Simulation Mode
Now we start the main program (in simulation mode, without a robot):- Linux: Run ./main/bioloid
- Windows: Run \main\bioloid.exe
You should see a terminal window (the following picture shows the NCurses Linux console).

You can always change between the realtime and simulation mode by typing on/off (enables/disables writing to robot) and ron/roff (enables/disables reading from robot). You should always test new stuff in the simulation mode first!
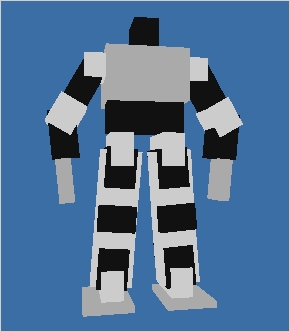
Type "playshow" and hit return. You should see the humanoid robot performing some actions in the 3d viewer.

Try "help" and check out some commands:
- "l 0 arm": Loads a (previously captured) arm animation stored in the file "arm.xml" into slot 0
- "play 0 1000 0": Plays the animation in slot 0 with a pause of 1000ms between keyframes and interpolation type 0 (linear in joint space)
- "script stand.s": Runs a scripting file which will make the robot stand upright
- "script knees.s": Makes the robot go down to his knees or stand up depending on its current position
Run Program in Realtime Mode
First, we'll use a simple test configuration in order to test if everything works properly:
- Edit the file config_test.xml and change the value of Software.ComPort to the port the serial adapter is connected to (f.e. /dev/ttyUSB0 or COM1).
- If you don't use 18 Ax12s, edit the file dh_test.xml and:
- Change the attribute len of KinematicChains to the correct amount.
- Remove/add chain objects. You have to edit the name and the id.
- Remove/add box objects. You have to edit the base attribute.
- Linux: Run ./main/bioloid -config config_test.xml
- Windows: Run \main\bioloid.exe -config config_test.xml
Now you can test your own config-file (remember changing Software.DH to your DH-file (geometric and kinematic model)) or use one of the predefined config files if you're using the custom humanoid or hexapod build.
Writing to the robot is disabled by default (see Software.WriteToRobot). If you're absolutely sure that everything works properly (and have tested your inverse kinematics implementation in simulation mode) you can enable writing to the robot by typing on in the console.
